Berry Explosion Pie
Okay, I admit, berry pies are my favorite! Fresh-picked berries are in my Top 5 foods, for sure. This pie uses a combination of berries, either fresh or frozen, each kind lending its own goodness to the finished pie. The tapioca flour used to thicken the filling results in a clear, not cloudy, filling. Best of all, this pie can be made year-around, using frozen mixed berries. It would be great if the pie didn't boil over, but to do that the amount of filling would have to be mighty small. If I have to choose between a good looking pie and a good eating pie, I'll choose the latter every time. This pie is both, if you can overlook the "over-flow". Mmmmmmm.......bring on the ice cream!
5 cups fresh or thawed, frozen mixed berries such as blueberries, blackberries, raspberries, strawberries (If using frozen berries, measure them before they thaw!)
1 cup + 2 Tablespoons sugar
5 Tablespoons tapioca flour (available in the gluten-free or section of supermarket featuring all kinds of flours and grains)
1 teaspoon freshly-grated lemon zest
Big pinch of salt
1 recipe Basic Pie Crust, chilled, then allowed to warm up a bit
2 Tablespoons butter
Milk (for brushing over the top)
Sugar (for sprinkling over the top)
Preheat the oven to 400-degrees.
Place the berries in a very large glass bowl. Combine the sugar, tapioca flour, lemon zest, and salt in a small bowl, using fingers to stir, toss, and separate lemon zest so it blends in completely. Sprinkle the sugar mixture over the berries and toss to thoroughly coat all of the berries with the mixture. Set aside while preparing the pie crust.
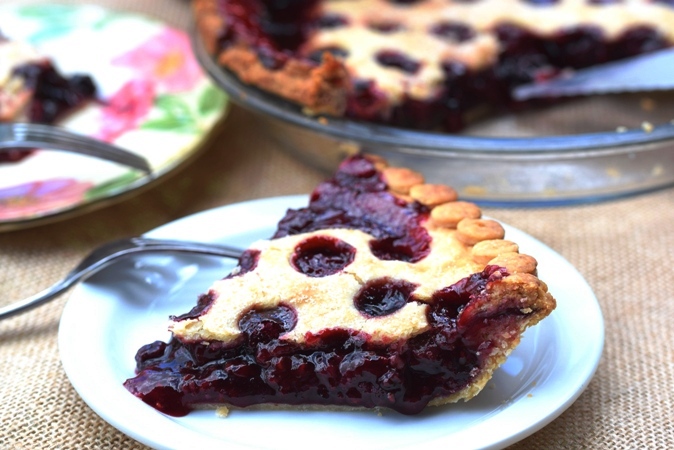
Divide the prepared pie dough into thirds. (One recipeof the Basic Pie Crust makes enough for 3 single crusts-wrap one third in plastic and refrigerate or freeze for another purpose.) Roll out one of the remaining thirds into an 11-inch circle. Wrap around the rolling pin and lay over a 9-inch pie plate (preferably glass). Center the dough gently, ease into the pan and smooth to fit. Roll out the remaining dough into an 11-inch circle. Cut slits, or use a small round cutter to create the top crust pictured, leaving a 2-inch border that doesn't have circles cut out.
Pour the pie filling into the prepared bottom crust. Dot all over with the butter. Carefully roll the top crust around the rolling pin, then roll out on top of the pie. Brush with milk (if you're making the "polka dot crust" you may not be able to brush with milk, so skip it) and sprinkle with enough sugar to give it a sparkly appearance. Crimp the edges if you're just cutting slits in the top, or if you cut out the circles of dough simply fold the edge under and press down with the tines of a fork to emphasize the dots. For a different look, fold under the edge of the crust and gently press, then brush with milk and place the pie crust circles around the edge of the crust, as shown above.
Bake in preheated oven until the pie filling boils up in the center, 50-60 minutes, or more. Use your eyes and nose to determine doneness; the pie is not done until it boils up in the center! If the crust browns too quickly, cover with aluminum foil, removing the foil a few minutes before taking the pie out of the oven. (If the pie is removed before it boils in the middle, the filling will not have cooked through, resulting in cloudy, runny pie filling. Be patient and cook it all the way through, tenting with foil as needed!)
Place on a rack and cool completely before serving.