Way-Easy Black Raspberry (or any raspberry) Jam

Wild Black Raspberry (Black Caps) Jam

Wild Black Raspberry (Black Caps) Jam

The best foods are the ones that grow wild, in my opinion.  It is a joy to forage for food, and wild black raspberries (also called "black caps") are among my favorites.  No cultivated berry can compare in flavor, and though the cost is lots of scratches from tramping about in thickets, and a few mosquito bites, I am happy to do it!  This jam is basically made with a formula, so that you can make as little or much as you want, depending on how many raspberries you gather.  You can run the jam through a food mill to remove the seeds, if you must, but I don't mind them a bit.  This version is intended to be refrigerated and used within a month or so.  It probably won't last that long, as eating this is like eating a sweetened, intensified black raspberry!

Basic Formula per cup of berries:

1 cup black raspberries

3/4 cup sugar

1/2 teaspoon fresh lemon juice

Combine the berries, sugar, and lemon juice in an appropriately-sized pan or pot.  Bring the mixture up to a boil over medium heat.  (I like to put a lid on the pot to speed up the process, plus the steam melts any sugar crystals on the side of the pot.) Place a candy thermometer in the mixture, not touching the bottom of the pan.  Cook over medium heat until it reaches 220-degrees, or jelly stage.  The mixture will still be liquid.

Pour the mixture into a squeaky clean jelly jar(s), cool to room temperature, then refrigerate.

Green Sun Tea with Lavender, Citrus, Honey & Basil

I'm sharing this recipe with a bit of trepidation, so please hear me out.  Those who love the flavor and aromas of fresh herbs and flowers will need no coaxing to make this tea.  But I can feel the doubtful, quizzical looks that some of you have as you read this......so I coax!  The herbal notes in this tea are very subtle, and the combination of the lavender, lemongrass, lemon, basil, and honey with the green tea results in a complex, nuanced beverage that is delightful.  It is thirst quenching, barely sweet, and even my hubby liked it. (Of course I didn't reveal the ingredients until after his first few sips, as I wanted to avoid prejudice!).  Yes, it has a feminine overtone making it perfect for luncheons, showers, and summer book clubs.  But hey, the guys like it too!

15 cups cool water

10 green tea bags

2 teaspoons dried culinary lavender (not the potpourri kind, it has to be food safe!)

1 Tablespoon dried lemongrass

1/2 cup honey (if you don't care for the flavor of honey, substitute raw or white sugar.  Simmer the basil or mint and lemon zest with water and add stevia or artificial sweetener to the finished tea if you prefer.)

1/2 cup water

2 basil leaves (or 2 sprigs of mint if you prefer)

Juice and zest of one large lemon

Place the water in a clear glass gallon container, obviously a sun tea jug is perfect.  Cut a large square of cheesecloth (a kitchen must-have!) and place the lavender and lemongrass in the center.  Pull up the corners and twist so that the contents can't escape, forming a sachet.  Tie with butcher's twine or string.  Place the tea bags (with strings over the top of the container) and sachet in the jug and cover with the lid,securing the tea bag strings so they can be retrieved.  Set the jug outside in a place that receives full sun and leave for 6-8 hours. 

Immediately, or a few hours before bringing the tea in, combine the honey, water, basil leaves, and lemon zest in a small saucepan and bring up to a simmer.  Remove from the heat and let cool completely.  Add the lemon juice and refrigerate.

Bring in the tea.  Remove the tea bags and sachet and discard.  Place a tea strainer over the opening and pour the honey mixture into the jug, straining out the basil leaves and zest.

Stir well and serve over ice.  Keep refrigerated.

In-the-Rough Cupcakes, a Father's Day Tradition

Click on the pictures to see the whole gallery!!

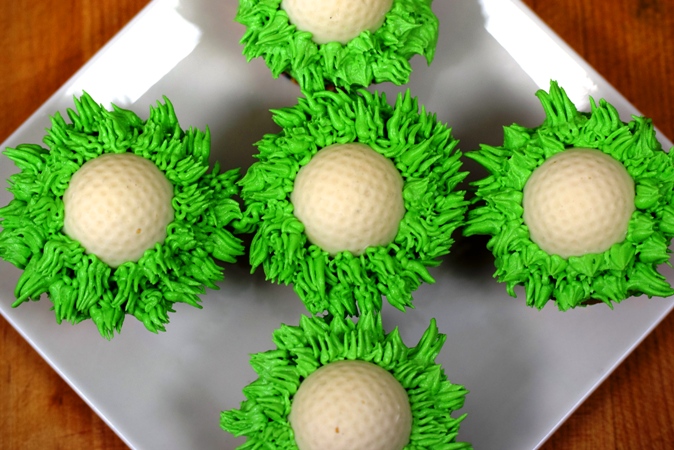
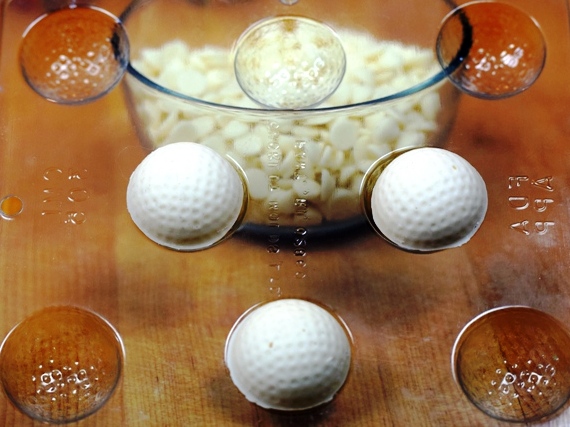
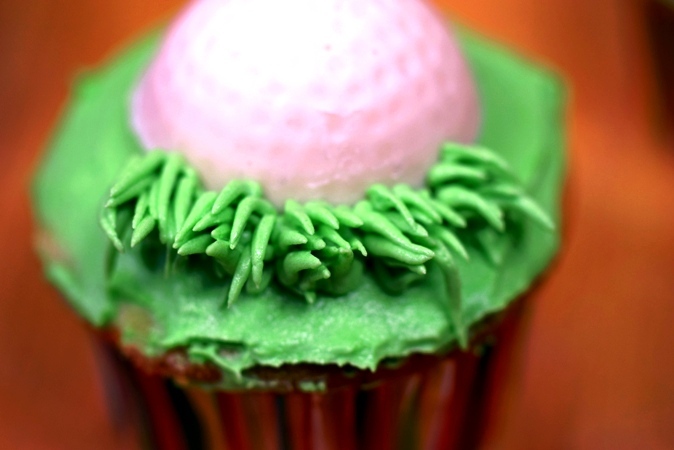
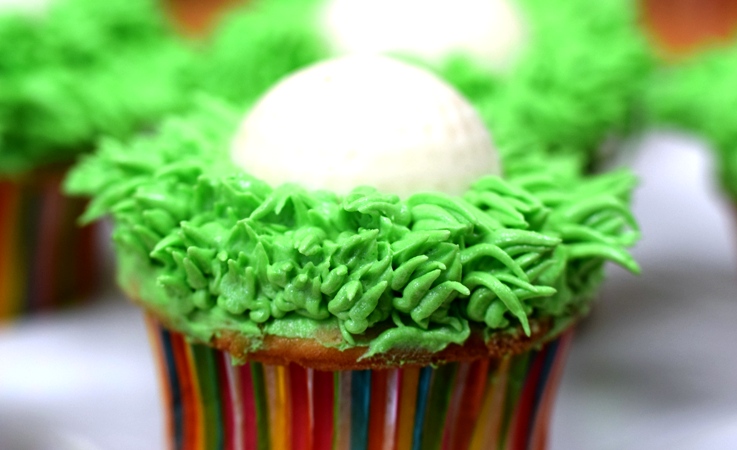
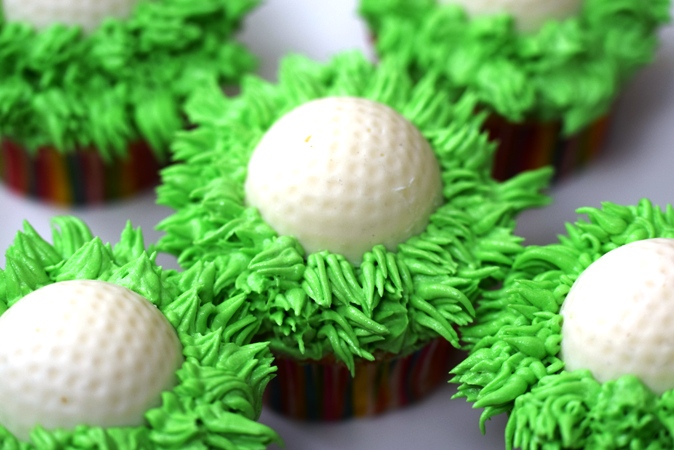
These cupcakes have become a Father's Day tradition!  They are easy to make, even for the "non-pastry person"!  The golf balls are made with white chocolate chips, melted and poured into plastic molds that are available at craft stores or on Amazon.  I make these a day ahead, allowing them to set, covered, on the counter until they're firm all the way through.  Whip up a batch of your favorite cupcakes in nifty colored baking cups, which can be made a day ahead, too, and kept covered until ready to decorate..  

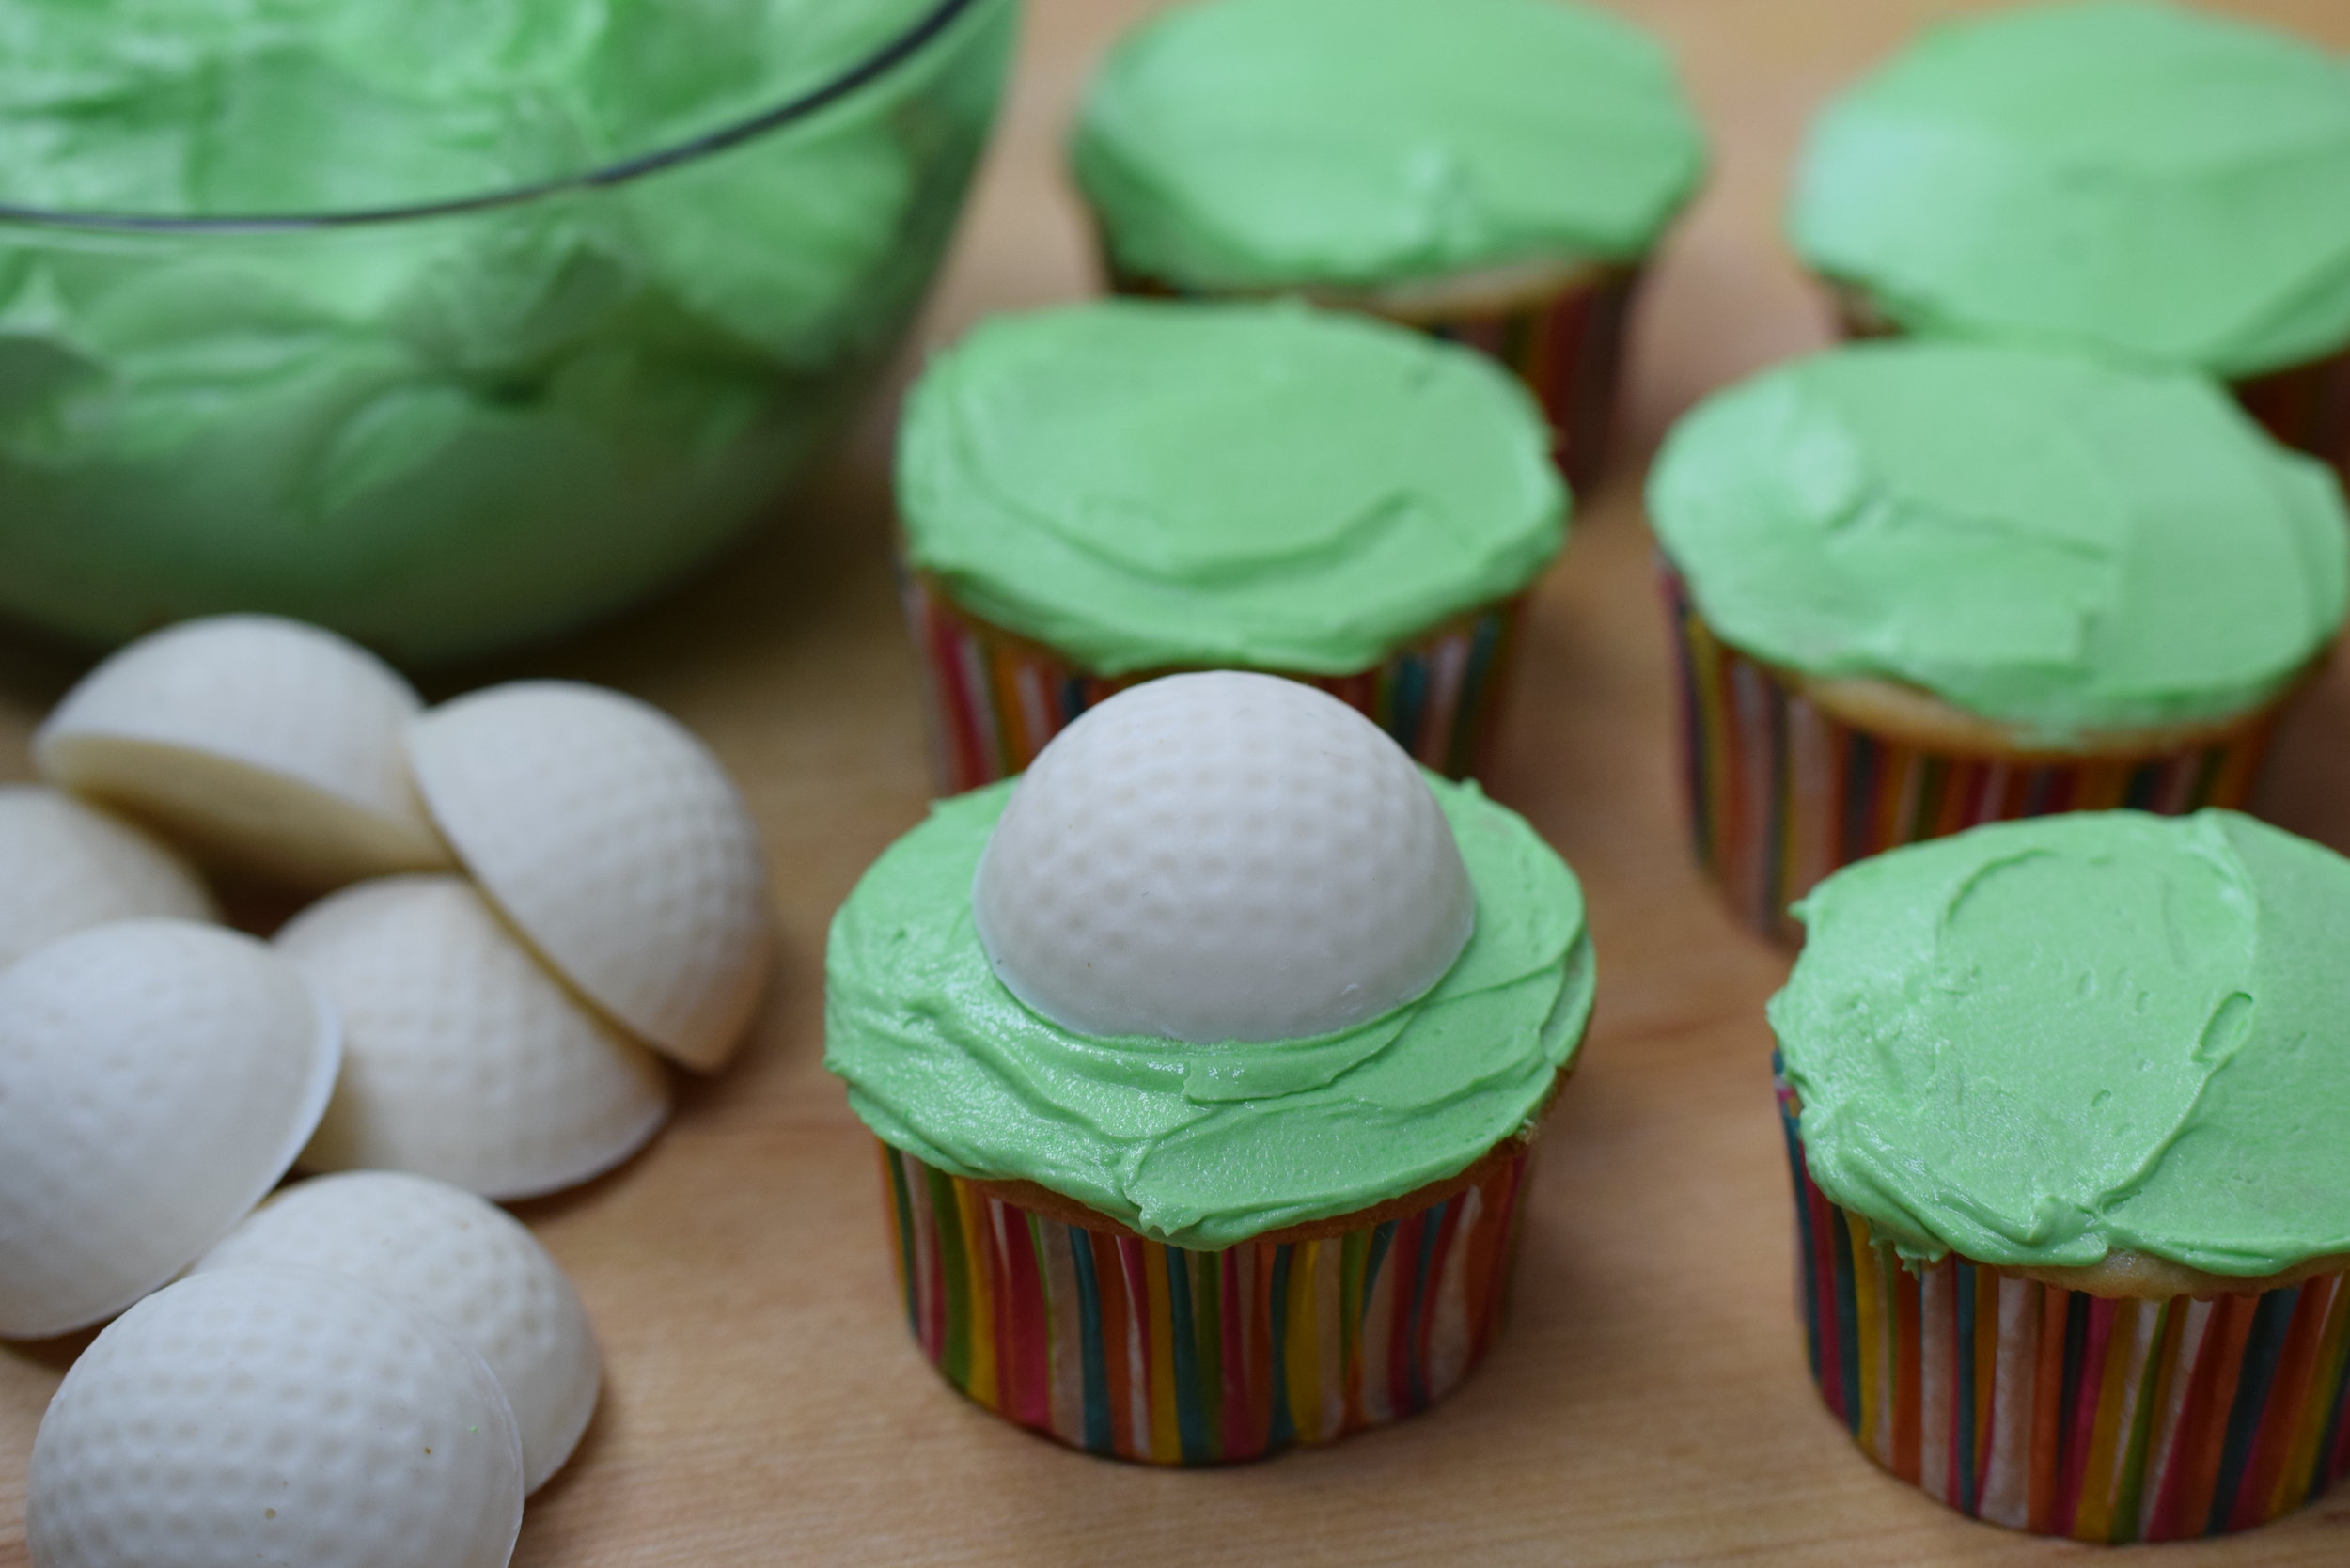
When you're ready to decorate, make (or purchase if you're pressed for time) some basic buttercream and color it grass green. Frost the tops of the cupcakes lightly with a slight mound in the center so the chocolate golf balls can be pressed in slightly, and the "grass" has something to stick to when piped. Place the golf balls in the center of the frosted cupcakes.

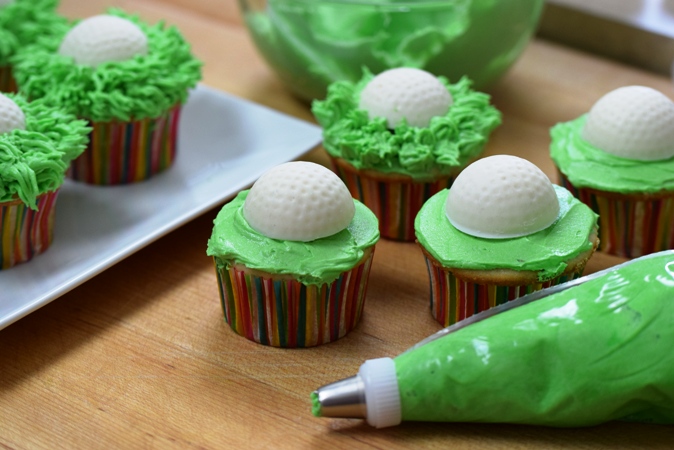
Fill a pastry bag fitted with a multi-opening tip designed to create grass or fur;  Wilton's is number 233, but there are other brands available, too.  Practice on a lid or piece of waxed paper, not touching the cupcake, but holding the tip out a bit so the "grass" squiggles a bit and then pull the tip away, forming the blades.  Since the grass in the rough of a golf course is not even, neither does the grass on the cupcake need to be "perfect"!  Make it different lengths, and mistakes just add an "authentic" look.  So don't sweat perfection!  One tip, turn the cupcake as you pipe the grass, to keep it all fanning out from the golf ball.  Also, try to place the second row of grass between the tufts of the first row, it fills in best that way.  It take 2 rows of grass to finish the cupcakes.

Let the cupcakes set and firm up before transferring to a serving plate or air-tight covered storage container.

Make these for your next "men's" event.  I know they will be a hit!

Below are links to the golf ball molds and pastry tip and bags!

Disposable Pastry Bags

Golf Ball Mold

Pastry Tip

Very Berry Frozen Yogurt

Warm weather means ice cream cravings, but premium ice creams are costly, both in dollars and calories!  In lieu of ice cream, I created this frozen yogurt concoction to satisfy those cravings, and it is tasty, indeed!  The juice, sweetened condensed milk, and honey create balanced sweetness, the liqueur adds flavor and the alcohol in the liqueur prevents the yogurt from freezing rock hard.  I like the richness that full-fat yogurt lends, but reduced-fat or fat-free works, too.  Best of all, everything goes into the food processor, and then into the freezer.  No special equipment needed!  Give this a try when your next ice cream craving hits!  Makes about a quart.

2 cups frozen berries (strawberries, raspberries, blueberries, whatever you have.  I like a combination)

1 Tablespoon lemon or lime juice

1/4 cup honey

1/4 cup sweetened condensed milk

2 Tablespoons Chambord, Kirsch, or other berry-flavored liqueur

2 cups Greek yogurt (whole-fat is best, but 2%, or non-fat will work)

*Note:  1/2 cup mini chocolate chips, granola, or chopped nuts may be stirred in by hand after processing, if desired.

Place a medium stainless steel bowl in the freezer.

Place the berries in the food processor and pulse a couple of times, just to break up the berries a bit.  Add the juice, honey, sweetened condensed milk, and liqueur.  Process until well-combined.  Add the yogurt and process until all ingredients are combined.

Pour the yogurt into the chilled bowl, quickly press plastic wrap onto the top of the yogurt, covering the edges of the bowl, and place int the freezer.  Freeze for about 3 hours before serving. (If you are available, it's good to give the yogurt a stir half-way through the freezing process, then replace the plastic and finish freezing.) Store leftovers in the freezer in an air-tight covered container, with a piece of plastic film pressed onto the surface to prevent freezer burn.  Use within two weeks.